If you’re anything like me, you’re swimming in photos. Your phone’s camera roll goes back years, your computer has dozens for random folders, and you constantly get notifications that your space in the cloud is filling up fast. And although the photos run deep, so many of our walls are bare and we can’t find a specific picture if our life depended on it.
Listen, I’m just as guilty when it comes to not organizing my photos…but I’ve learned a few tricks over the years.
Here are my top 5 tips for organizing your photos. Give them a try. You’ll feel so accomplished.
1-Make a Family Yearbook
I’ve said I was going to do this for the past, oh…8 years. But this is the year, friends; this is it. I’m going to make a family yearbook in 2020. I understand that not a lot of people print photos and put them in albums on a regular basis anymore, but I think a family yearbook is a great alternative. There are so many photo book companies that make this easy to do and accessible. The hardest part is choosing which photos will go in the book, so I suggest tagging your faves now.
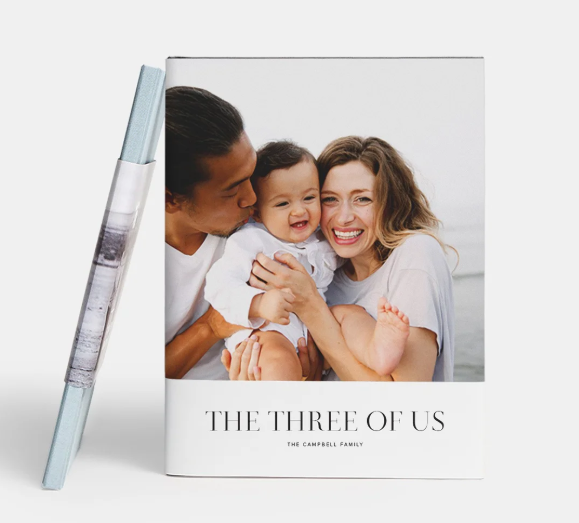
Here are my 3 picks for places to print a great photo book online:
Artifact Uprising: Hardcover Photo Book
Bonus Tip: Go with a classic white or black page design so that you aren’t getting held up choosing pretty backgrounds, borders, etc. Plus, it will hold up over time instead of looking dated in 10 years.
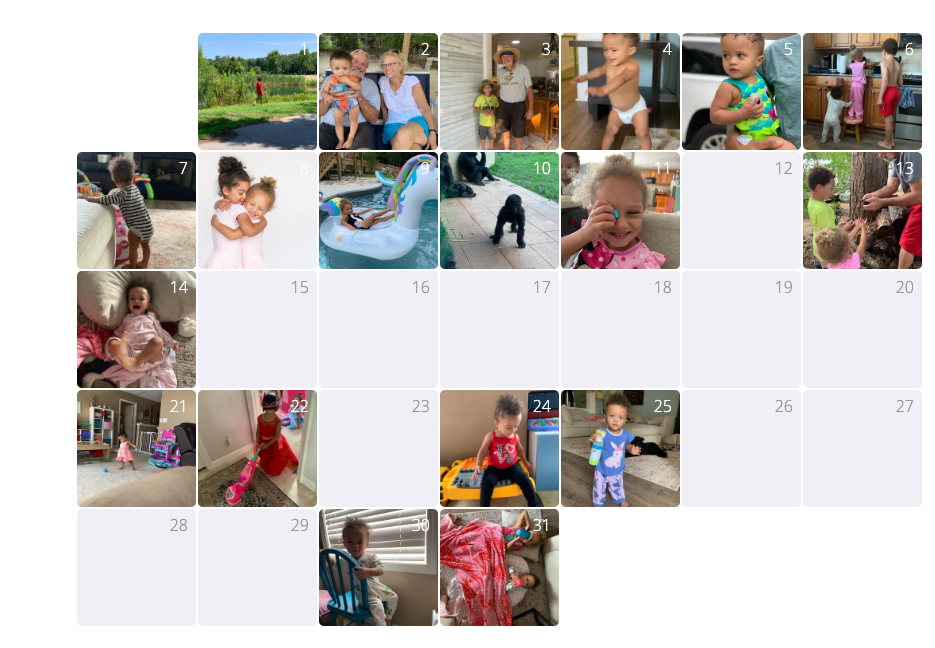
2-Use Tinybeans
This has been one of my favorite apps since my son was born back in 2012. It’s FREE and allows you to upload daily photos to a private account that you can share with others if you want. My favorite part is that it displays your photos in a calendar and makes it really easy to scroll back and see photos from say February 2014 or August 2016. You can add Grandma or a close friend so that they can see new photos without having to spam all of your Facebook friends every time your little one does something absolutely adorable. You can also add your spouse to the account so that you can both upload photos and I like knowing that my photos are backed up in another place. If you want, you can even order photo books .
If you use this link, we both get a month of free premium that allows you to do extra fun things like upload videos to your Tinybeans account.
Bonus Tip: use the “slideshow” feature to keep your toddler compeltely enthralled during a trip to the grocery store or a doctor’s office wait. My daughter loves watching pictures of our family slide by.
3-Cull Your Photos Daily
Culling means that you’re combing through your photos and choosing the ones to keep and the ones to toss…yes, there are some you can toss. It’s so easy to take multiple shots, trying to get the right angle or waiting for your little one to smile. I also end up with lots of weird, useless pictures on my phone like that picture of the rugs at the store that I send to my husband or a funny meme I took screenshot of. You don’t need to keep them all. You can do this one on the couch at night while catching up on your shows. Make it a habit to go through the day’s photos and either delete the ones you don’t love or use the favorite button to mark the ones that you do love. If there are a bunch from a special event or trip, I like to put them in a folder on my phone so I can find them quickly (Ex. Disney World Trip, First Day of School).
4-Organize Your Files
If you’ve done a few photo dumps on your computer, telling yourself you’ll go back and organize them later, now’s the time. Get a glass of wine, put on a Friends rerun (no, just me?) and start dragging and dropping. My favorite way to organize is by year, then month. For instance, I have a folder just named “2020”, then inside of that folder another one named “January 2020”. It makes it really easy to find photos later…..perhaps for that family yearbook…
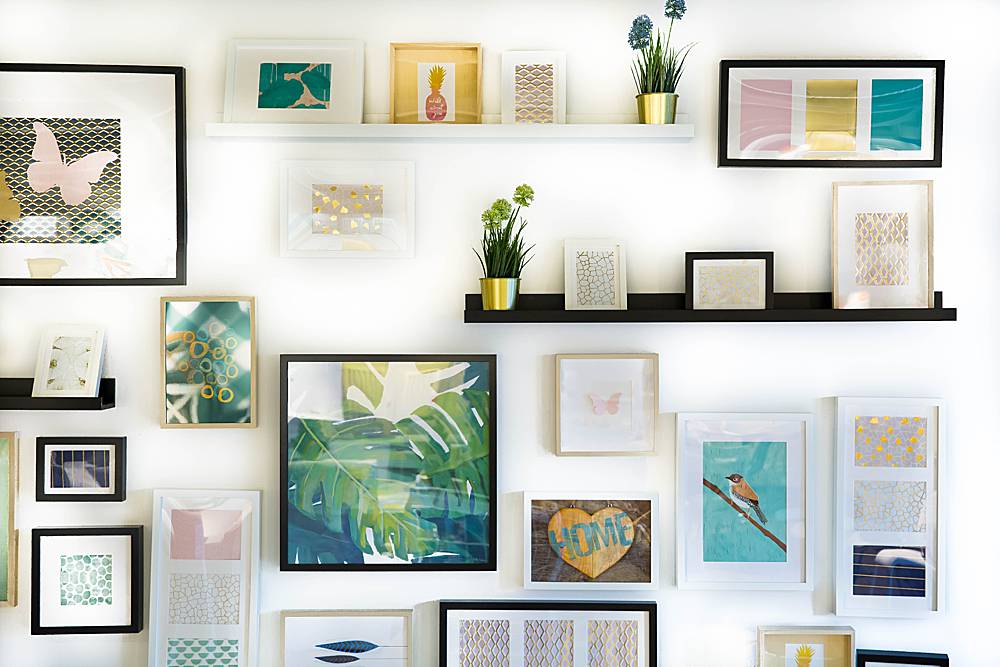
5- Keep a “Frame it” folder
Every once in awhile, you’re going to come across a photo that’s more than just a “keeper”, it’s a “framer”. The problem is, if you don’t tag it or put it somewhere special, it will get lost in the pile again. So make a “Frame It” folder on your desktop (or phone…or ipad) and toss those photos in there. Then when you get the urge to update your walls to, say….show that your third child is actually a part of your family…you’ll already have a small collection of photos that you really love instead of combing back through thousands of them aimlessly.
Ok, that’s it. 5 tips for organizing your photos. I think the key is to just do it consistently. Cull your photos daily, toss them into folders weekly…order a book yearly. Because we all know how the days roll into weeks that roll into “Oh wow, I don’t have one printed picture since my teenager was 6.”
Good luck…here’s to not drowning in the photos. 🥂


I love the framer folder idea!
I’ve recently moved al my photos to Google photos and have been pretty happy with it.