I get asked a lot of questions about photography: How did you get started? What camera do you suggest? Why do you shoot Canon? But today I wanted to address the question I get asked the most. Can you guess it? “How do I get the background to be blurry?”
Yes. That’s the one. I laugh a little remembering myself asking someone this exact question after I saw a few of her photos and realized that the blurred out background is what made it look “professional” to me. And when I think about the answer to this question, there’s a lot that I could say. So much really goes into creating the “blurry” effect, but today I’m going to attempt to give you a shortened, easy answer to this and tips for trying it out yourself.
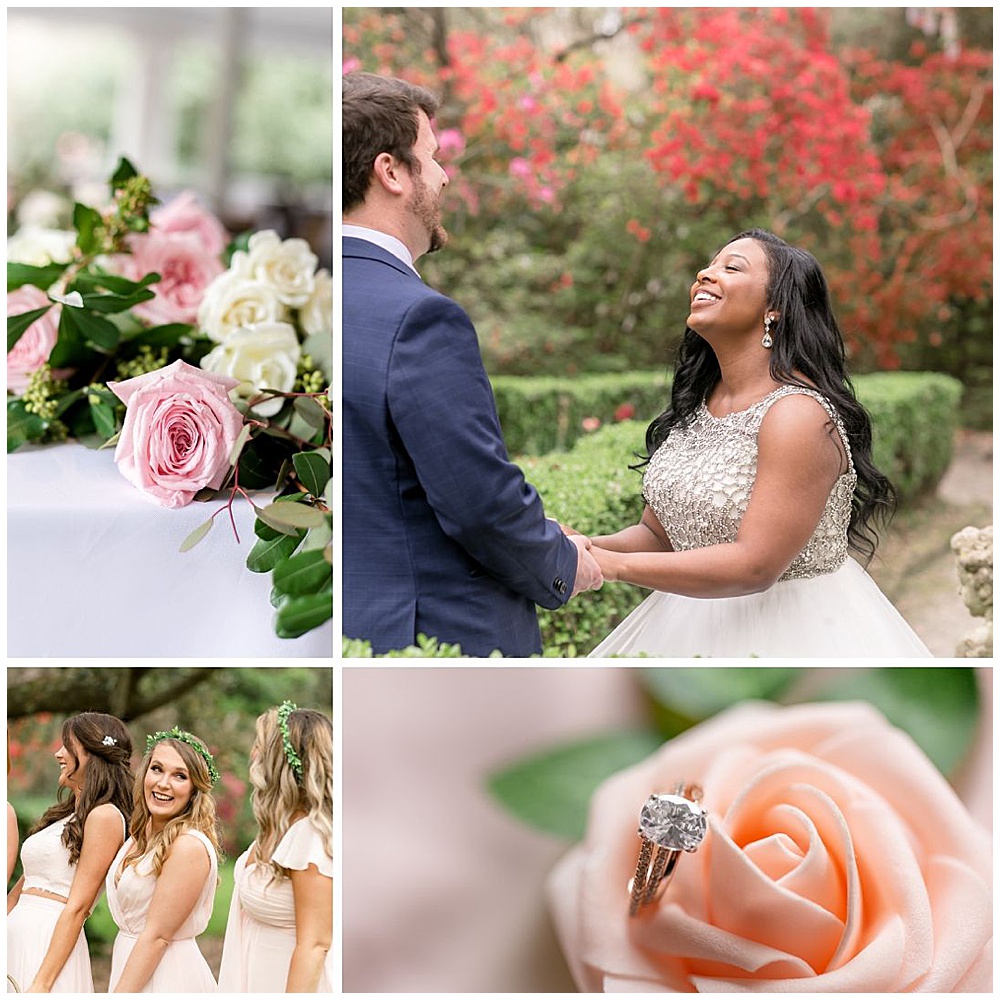
First of all, that “blurred” out background is the effect of a wide aperture and shallow depth of field. You’ve probably even heard the term “bokeh”. A quick Wikipedia search will tell you this: “In photography, bokeh is the aesthetic quality of the blur produced in the out-of-focus parts of an image produced by a lens. Bokeh has been defined as ‘the way the lens renders out-of-focus points of light’.”
So how do we get that bokeh? That blur? Simple. You widen your aperture. Now as I said, there’s a lot that goes into this and I could try to dive into the technicalities of it all, but instead, I’m just going to tell you what to adjust on your camera to get it.
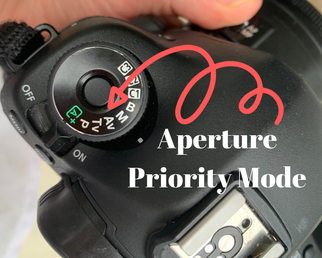
1-First, I want you to look at the modes on your camera. The little dial on the top that allows you to move it from auto to manual, etc. See if you can find Aperture Priority Mode. On my Canon camera, it looks like this (AV).
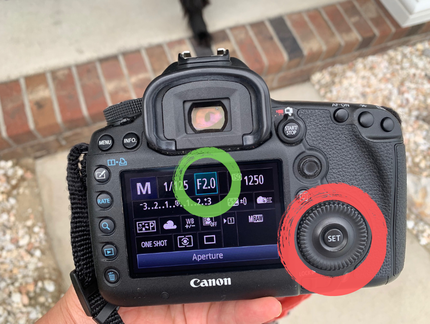
2-If you look at the back display of your camera, you will see an f-stop number. Perhaps it says F4.5 or F7. I want you to figure out how to crank that number down to the lowest that it will go. This will vary depending on your lens, so while some of you might get all the way down to 1.2, others may only get 2.8 or 4.5. That’s ok. Just figure it out which dial on your camera adjusts it and crank it to the lowest number you can.
3- Now look through your viewfiender, point your lens toward something you’d like to photograph. Try something that doesn’t move and that has some “background” space behind it (is not pushed up against a wall), perhaps a loaf of bread on the edge of your counter or a flower in the middle of your table.
4-Focus on that object, particularly on the edge of the object that is closest to you. Now snap your photo. Take a look. What do you notice? Is the background “blurry”? It should be. How blurry will depend on how low you were able to adjust your f-stop number.
5-Try again. This time crank it up a few numbers and try to take the same exact shot. Crank it up even higher this time and take one more shot. Now take time to look at all three images. Do you see a difference?
Aperture Priority mode allows you to adjust the aperture while your camera still automatically adjusts the rest for you. It’s a sort of “training wheels” mode on the way to manual. I started with it and I think it’s a great place for you to start too. It will allow you to try out adjusting just one thing until you get effect you want.
Try it.
What did you find out?
I hope this gave you one answer to the question, “How do I get the background to be blurry?”
[thrive_leads id=’4027′]
Until Next Time,

P.S. Want bonus points?? Email me your photos! My teacher heart loves to see my students’ work and ways you’re understanding or not understanding something. I would be thrilled to see that loaf of bread photo land in my inbox today.


comments +